From Artwork to Finished Sign: Our Metal Sign Production Process Explained
Need this made for your team?
Send your artwork or idea and we will come back with a price in one business day. Bulk pricing available.
From Artwork to Finished Sign: Our Metal Sign Production Process Explained
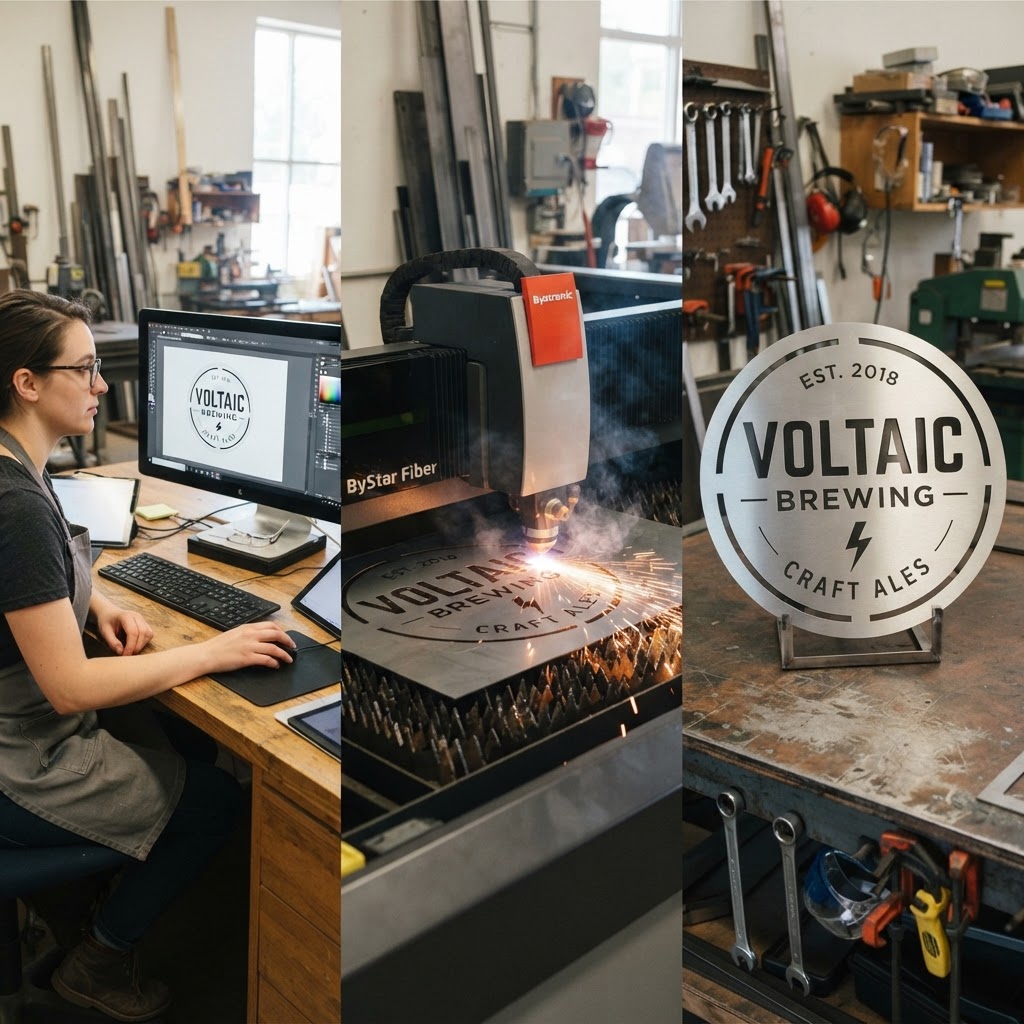
I still remember the first time I pulled a custom metal sign off our laser bed here in New Braunfels. The smell of ozone and burnt steel is something you never really get used to, but it is the smell of a project coming to life. People walk into our shop every week asking how we get such fine detail onto a piece of heavy gauge steel. They usually think it is some kind of sticker or maybe a fancy paint job. When I tell them we actually burn the design into the metal using high powered light, their eyes usually go wide. It is a cool process, and since we love talking shop with our neighbors here in Central Texas, I figured I would walk you through exactly how we turn your vision into a physical piece of art.
Getting the design right before the sparks fly
Before we ever fire up the machinery, we have to look at the digital file. This is where most people get tripped up. Honestly, a good sign starts with a clean vector file. If you send us a blurry image from a phone screenshot, the laser is going to see every single jagged pixel. We take that file and prep it in software that talks directly to our laser engravers. We have to consider the metal type and thickness right here. Are we working with raw cold rolled steel, aluminum, or maybe some fancy stainless? Each metal reacts differently to the laser.
If we are doing a deep engraving, we need to set the laser to take multiple passes. If we are just surface marking, we can zip through it pretty quickly. We usually spend more time on this digital prep work than the actual engraving itself. It is a bit like measuring twice and cutting once. If the lines are not crisp on the screen, they definitely won't be crisp on the metal.
Setting up the heavy metal
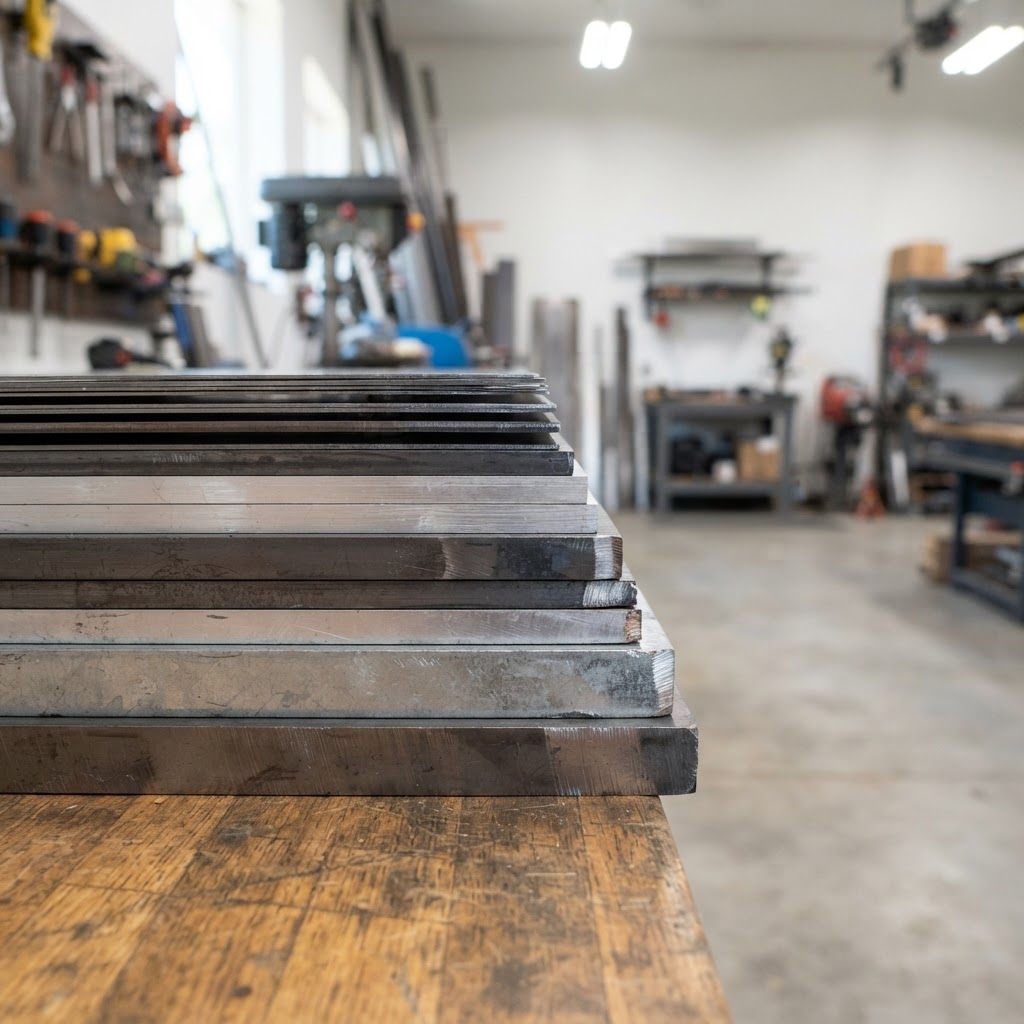
Once the file is ready, it is time to move to the shop floor. This is where the metal sign production process gets a little loud. We lay the metal sheet onto the honeycomb bed of our laser system. This bed is important because it allows the smoke and debris to vent away from the back of the piece. If we laid it on a solid table, the smoke would get trapped and leave a nasty, cloudy residue on the underside of your sign.
After we verify the focus, we do a quick dry run. We use a red dot pointer to trace the outline of the artwork on the actual metal. This is the moment of truth. If the design hangs off the edge, we catch it here. Once we are sure everything is centered, we close the safety lid and hit start. That is when the show begins.
The chemistry of the burn
You might wonder how a laser actually cuts or marks metal. It is all about concentrated energy. We use a fiber laser for most of our metal work. This laser generates a beam that creates a reaction on the surface of the metal. For some projects, we are literally vaporizing a tiny layer of the steel. For others, we are changing the surface tension and the oxidation state of the metal to create a permanent, high contrast mark.
Look, this is not like printing an inkjet page. The laser is moving at hundreds of inches per minute. It is frantic and precise at the same time. You will see sparks flying and bright flashes of light. We have to keep a close watch on the fume extraction too. If the smoke doesn't clear fast enough, it can dull the laser beam and ruin the detail. We have learned the hard way that ventilation is the secret to a professional finish. It keeps the edges of the engraving sharp and prevents heat discoloration where we don't want it.
Adding the finishing touches
Once the laser finishes, the sign is usually pretty hot. We let it cool down before we do any handling. This is an important step that people often overlook. If you touch raw steel while it is still cooling, you might leave a permanent fingerprint or oil mark from your skin. After it reaches room temperature, we move it to the finishing bench.
Depending on the look you want, we might give it a light sanding to remove any burrs from the laser process. Sometimes we leave it raw and industrial. Other times, we might apply a clear coat or a protective oil to keep the rust away. Since we are here in humid Central Texas, rust is a real enemy. If you are hanging a custom sign outdoors, we usually recommend a powder coat or a heavy duty clear lacquer to make sure it lasts for years without turning into a rusty mess. We have seen signs survive everything from blistering heat to hail storms because we took the time to seal them properly.
Why it matters to us
We really take pride in the fact that we handle this fabrication process start to finish under our own roof in New Braunfels. You are not buying a catalog sign that was printed overseas. You are getting a piece of metal that we personally calibrated, measured, and engraved. It is satisfying to see a plain sheet of industrial steel transform into a custom sign that will sit on someone's wall for decades.
If you have an idea for a metal sign or a custom gift and you are not sure if it is possible, just stop by the shop. You can see the machines running and get a feel for how we work. We are always happy to show you some samples of what we have been working on lately. Whether it is a small desk plate or a large sign for your business, we would love to help you get it done right.
Tell us about your project
Share the basics and we will come back with pricing, options and a timeline. No obligation.