Mounting Metal Signs: What Hardware Actually Holds Up Outdoors
Need this made for your team?
Send your artwork or idea and we will come back with a price in one business day. Bulk pricing available.
I remember the first time I saw one of our custom metal signs hit the ground. It was a beautiful, powder coated piece we made for a client right here in New Braunfels. They picked it up, hung it with some flimsy hardware they grabbed at a big box store, and a decent Central Texas thunderstorm knocked it off the fence three days later. It hurt to see that piece of art scuffed up. Ever since then, I make it a point to talk shop with every customer about how they plan to hang their new metal sign. Because honestly, the sign is only as good as the hardware holding it up.
Understanding the terrain
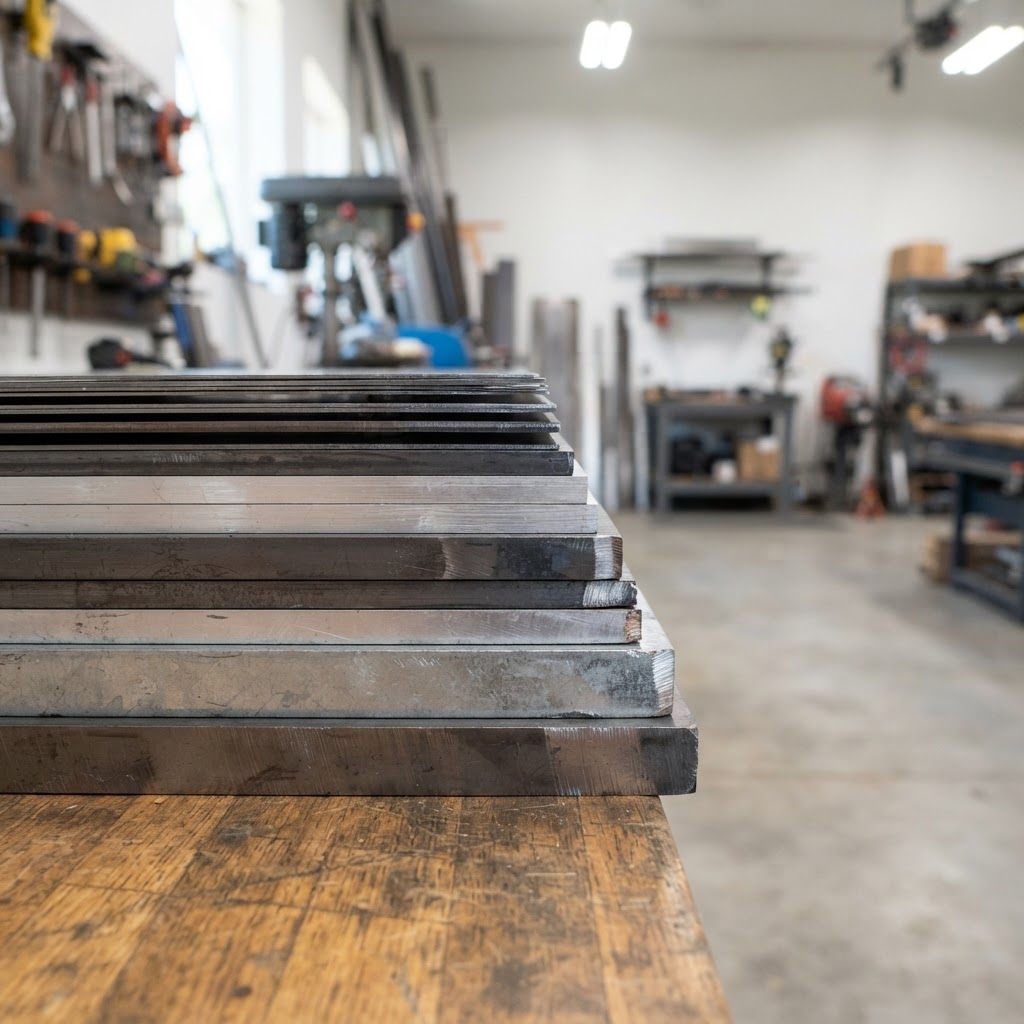
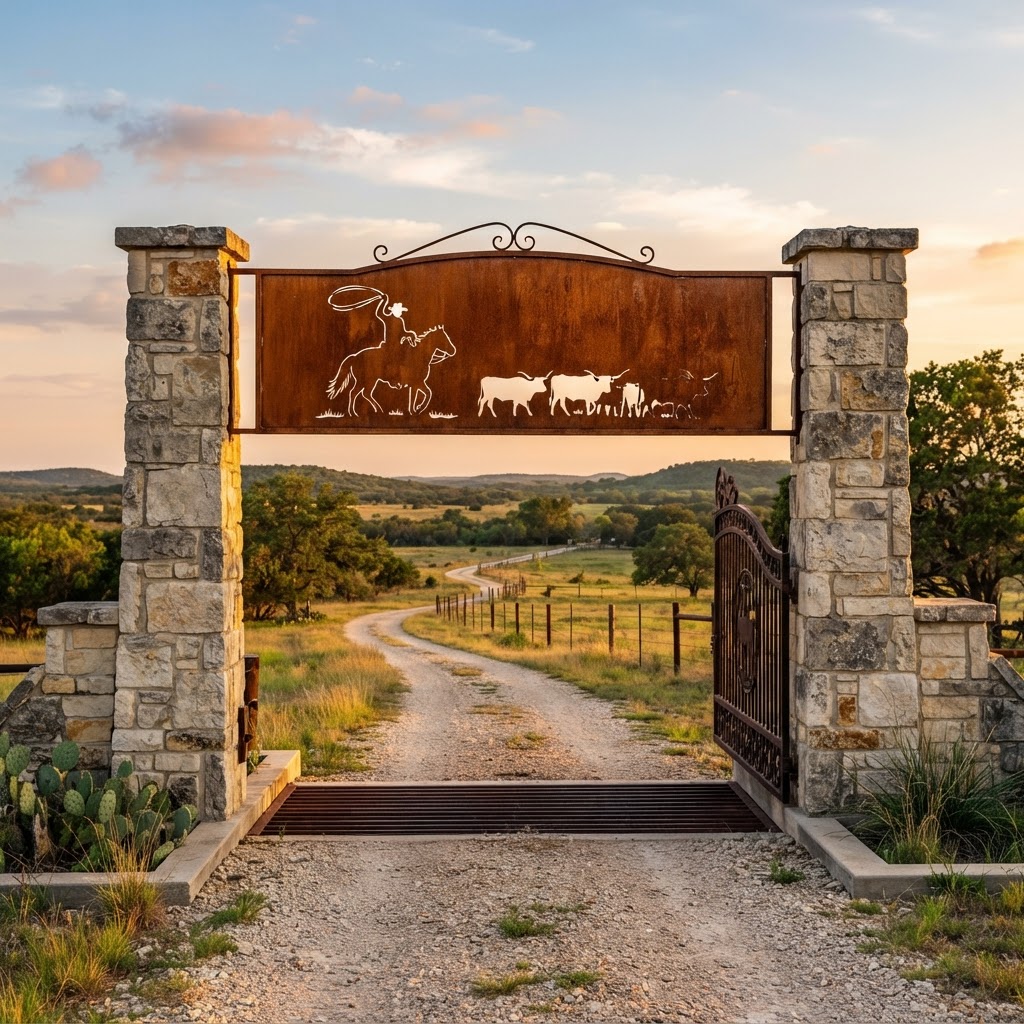
You have to think about where you are living. Here in Central Texas, we deal with some pretty wild weather. You have the blistering summer sun that can bake mounting materials, and then you have those sudden, heavy wind gusts that act like a sail against a flat metal sign. If you live out in the hill country where the wind rips through the canyons, you need a setup that is practically permanent. If you are mounting to a brick wall versus a cedar fence, the physics change entirely. Most people forget that metal signs have weight. A thick gauge steel sign from our shop at Perfect Etch is going to stay put, but only if you give it the right support.
The golden rule of stainless steel
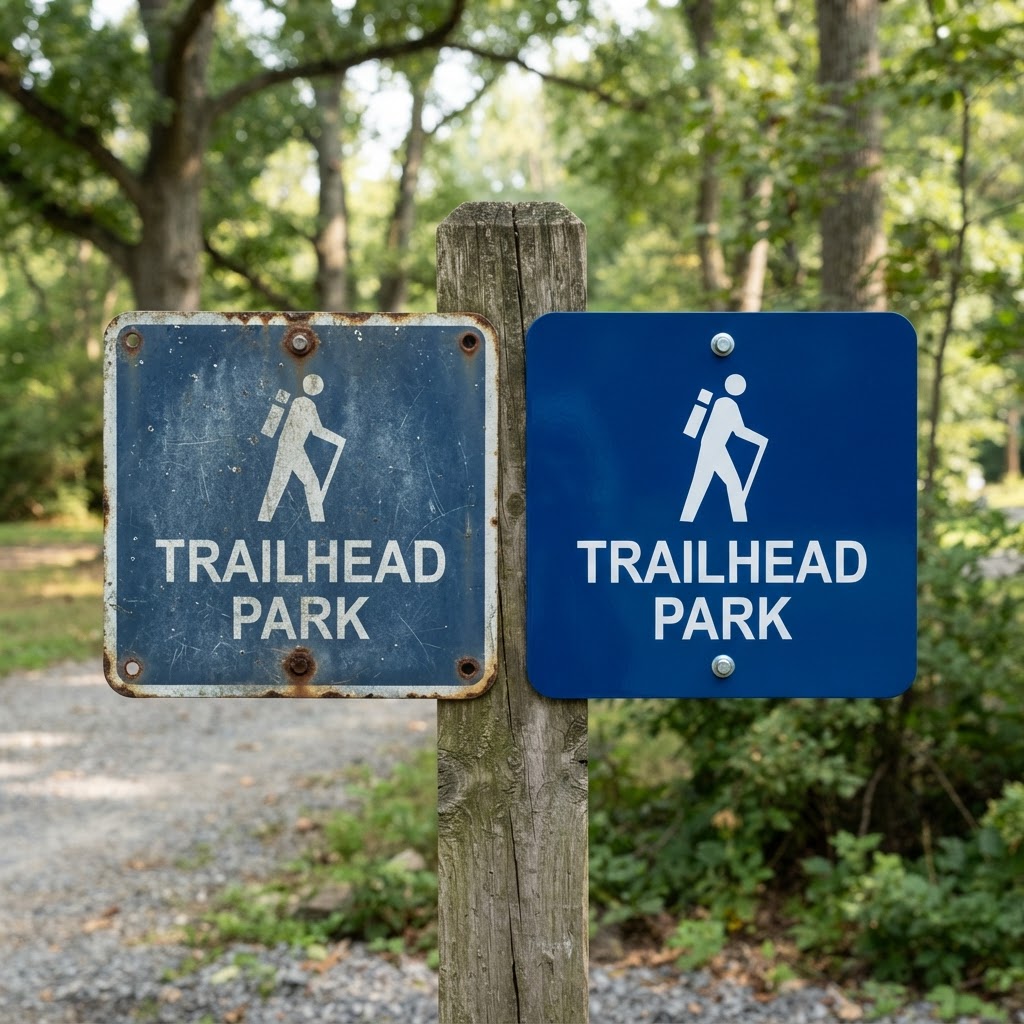
Here is the thing about outdoor mounting. If you use cheap hardware, you are going to see rust streaks running down your beautiful sign within a few months. That is the quickest way to ruin the professional look of a custom engraved piece. You need to stick to stainless steel. Specifically, look for 316 grade stainless steel if you are anywhere near moisture or humidity, though 304 usually works fine for most backyards around New Braunfels. Just steer clear of standard zinc coated screws or bolts. They look fine at the register, but they will fail you the second a little humidity hits them.
When you are choosing your fasteners, think about the head of the screw. A pan head screw is usually your best friend. It gives you a nice, flat surface that holds the sign tight against the mounting surface without bowing the metal. If you are drilling through the sign, make sure you use a rubber washer behind the head of the screw. That little bit of rubber acts as a buffer. It prevents the metal screw from scratching the finish of the sign, and it gives the assembly just enough flex to handle the expansion and contraction that happens when the Texas sun hits the metal during the day.
Dealing with different surfaces
Installing metal signage onto wood is straightforward, but it comes with a catch. If you are screwing directly into a wooden fence, do not drive the screw in until it is buried in the metal. You want it snug. If you overtighten it, you end up dimpling the metal, and that never looks quite right. If you are attaching to a brick or stone wall, you absolutely have to use masonry anchors. People try to use construction adhesive sometimes, and while that works for small, lightweight pieces, it is a nightmare for anything significant. If the glue fails, you lose the sign. Use a hammer drill to set some plastic or lead sleeves, and then drive your stainless screws into those. It takes ten minutes more, but it saves your sign from a twenty foot drop later.
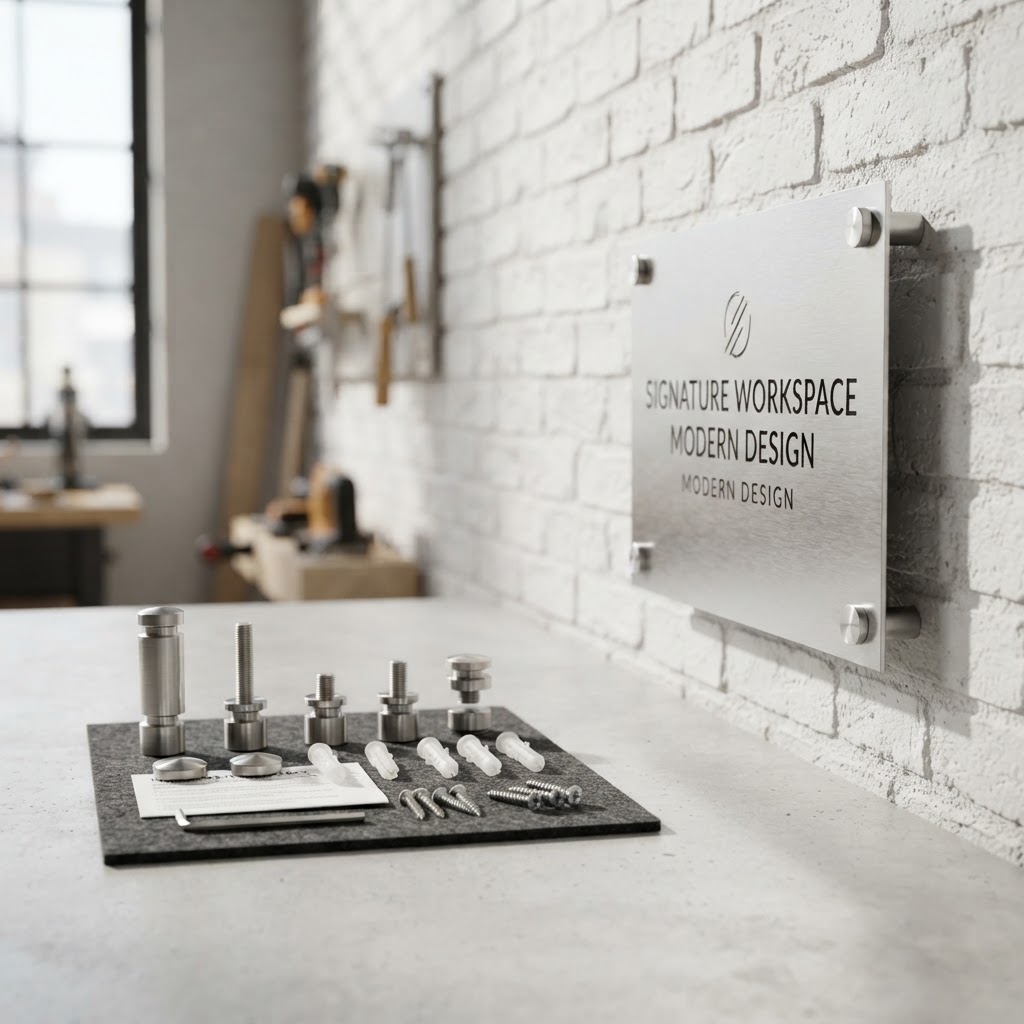
If you are worried about the look of screws showing on the front of the sign, you might want to look into standoffs. These are little cylindrical spacers that hold the sign an inch or two away from the wall. They make the sign look like it is floating, which creates a really sharp shadow effect. Just make sure you are using quality aluminum or stainless standoffs. You will need to drill holes in the corners of your sign, but the payoff in terms of style is huge. We have done a few custom jobs at Perfect Etch where the client used standoffs, and it completely transformed the look of their entryway.
Preventing the rattle
Nothing ruins the vibe of a nice patio faster than a metal sign clanking against a post every time the wind blows. It sounds like a ghost is trying to get into your house. If your sign is flapping, you are also going to end up with wear marks on the surface where the metal meets the mounting material. A simple trick is to put a small piece of felt or rubber weather stripping on the back of the sign before you hang it. You do not need much. Just a few small pads near the corners or where the sign touches the wall will stop the vibration entirely. It makes the sign feel solid and heavy, even if it is a lighter gauge piece.
I have seen people try to use wire or zip ties to hang signs, and I have to be honest with you, please do not do that. It makes a custom piece look like a temporary yard sale sign. Spend the extra few dollars on real mounting brackets or proper screw sets. It is a small investment that keeps your gear looking like a professional installation for years. If you are ever unsure about how to mount a specific piece you picked up from us, just bring it by the shop or send us a quick email. We are usually hanging things in the shop anyway, and we can show you exactly what works best for the wall you are working with.
Whether you are putting up a sign for your business or just trying to dress up your backyard space, keeping it secure is priority number one. You have already invested in a quality laser engraved product, so keep that same standard for the hardware. If you are looking for advice on your next custom project, or you just want to see how we handle custom engraving and metal work, swing by the shop. We would love to chat about your next sign idea over a cup of coffee.
Tell us about your project
Share the basics and we will come back with pricing, options and a timeline. No obligation.